Key Takeaways
• Professional installation is strongly recommended over DIY due to complex electrical codes and safety requirements
• Electrical bonding is mandatory under National Electrical Code to prevent shock hazards and ensure inspection approval
• Precision leveling within 1 inch across the entire pool diameter is the industry standard for structural integrity
• Installation follows a multi-phase process including site preparation, leveling, wall installation, and liner setting
• Delivery and installation are separate events requiring advance coordination and proper scheduling
• Modern base materials like foam pads and Gorilla Pads have evolved beyond traditional masonry sand
• Rigid plumbing is emphasized over flexible alternatives for long-term durability and reliability
Quick Answer
Pool installation in 2026 requires professional expertise due to strict electrical codes, precision leveling requirements, and complex safety standards. The process involves site preparation, electrical infrastructure setup, precision foundation work, and multi-component assembly that typically takes 1-2 days with proper planning. Most homeowners should expect to hire certified installers rather than attempt DIY installation.
What Does Professional Pool Installation Actually Involve?
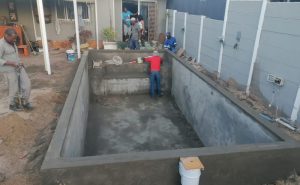
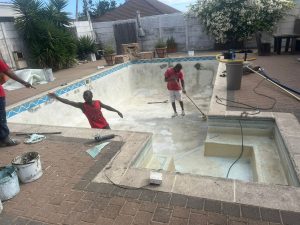
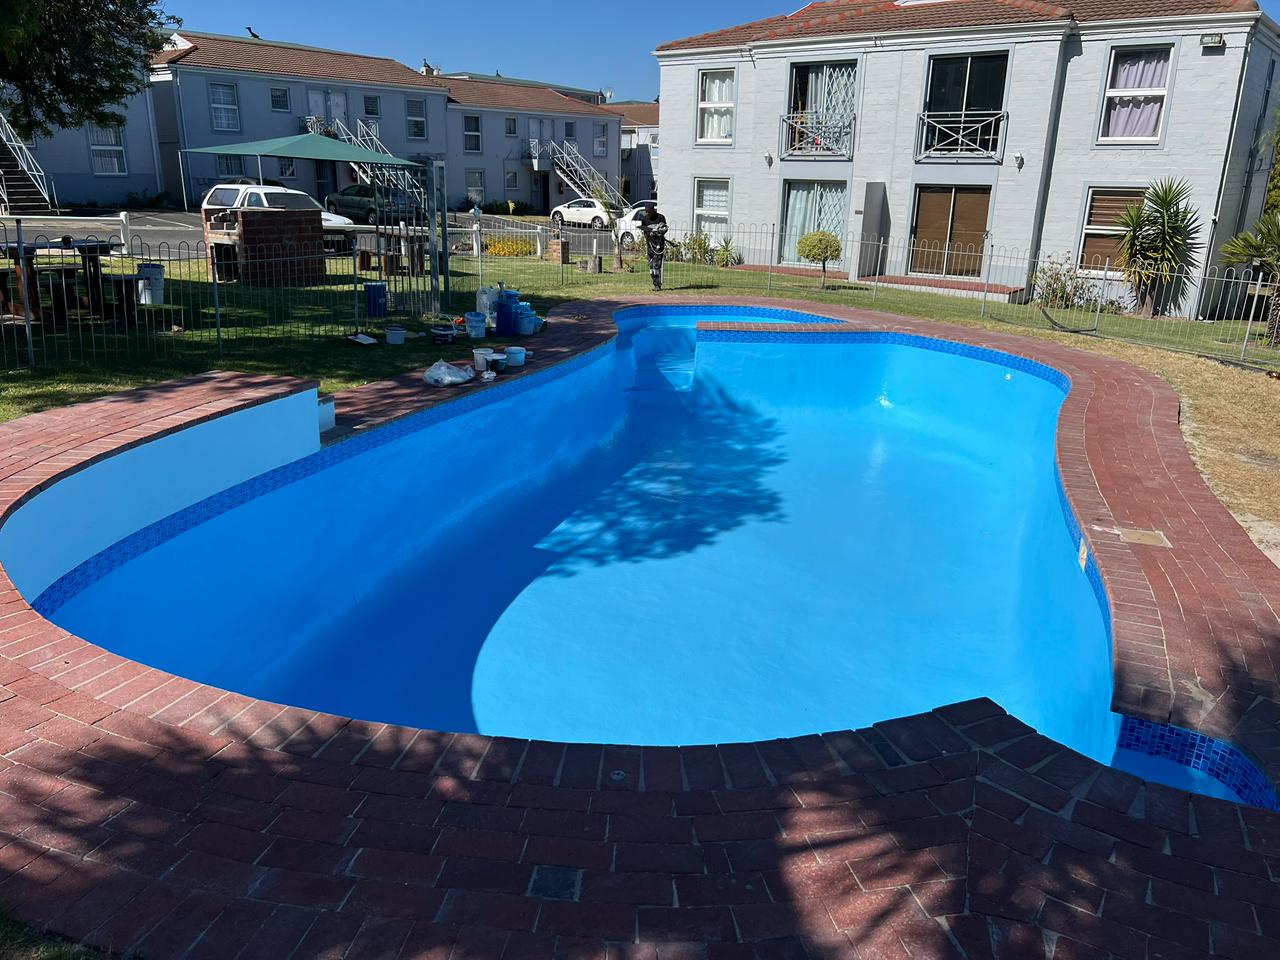
Professional pool installation is a choreographed sequence that begins with site marking and sod removal, followed by precision excavation and leveling work. The installer creates a foundation accurate within 1 inch across the entire pool diameter, then assembles four essential structural components: the bottom track foundation, vertical uprights, waterproof vinyl liner, and complete filtration system[3].
The process requires specialized heavy-duty digging equipment for site preparation, which represents a significant cost beyond basic materials[4]. Modern installations emphasize rigid plumbing over flexible alternatives to ensure long-term structural reliability and prevent future maintenance headaches.
Choose professional installation if: you lack electrical experience, want warranty coverage, or need permits pulled. Consider DIY only if: you have electrical certification and access to precision leveling equipment.
Why Is Electrical Work the Biggest Safety Concern?
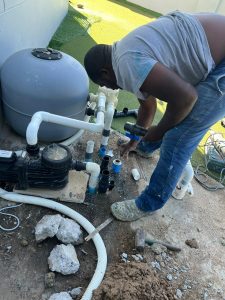
Electrical installation requires a dedicated 120-volt underground power line from your main panel with either 20 or 30 amp GFCI-protected breaker, wired directly to the pump with proper gauge sizing for the electrical load[2]. National Electrical Code mandates “bonding” — connecting all metal components to ensure equal electrical potential and prevent shock hazards[3].
This bonding requirement is the most common reason for failed inspections and represents a serious safety risk if done incorrectly. Additional electrical outlets must be positioned at least 10 feet from the pool edge, and all work typically requires permits and professional inspection.
Common mistake: Homeowners often underestimate electrical complexity, leading to code violations and expensive rework.
How Should You Prepare Your Installation Site?
Site preparation starts with marking utilities and measuring your intended pool location for adequate clearance from property lines, septic systems, and overhead power lines. Precision leveling within 1 inch is the industry standard and requires specialized equipment to achieve proper foundation integrity[3].
Modern base preparation has evolved beyond traditional masonry sand. Contemporary installations increasingly use:
- Foam pads for smooth floor experience
- Gorilla Pads to prevent nutgrass puncturing
- Specialized underlayment for enhanced durability[3]
The excavation process requires heavy-duty equipment and should account for proper drainage away from your home’s foundation.
Decision rule: If your yard has more than 2 inches of slope across the pool area, budget extra for extensive leveling work.
What’s the Timeline for Pool Installation?
Pool materials typically arrive on one or two 4′ x 4′ pallets, and you should schedule delivery and installation as separate events with advance notice[1]. Professional installation takes 1-2 days for above-ground pools once site preparation is complete.
Installation Sequence:
- Day 1: Site marking, excavation, and precision leveling
- Day 1-2: Bottom track installation and wall assembly
- Day 2: Liner installation using vacuum systems for wrinkle-free finish
- Day 2: Plumbing connections and electrical hookup
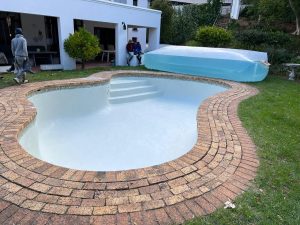
- Day 2-3: System testing and water filling
Weather delays can extend this timeline, particularly during spring installation season when demand peaks.
What Are the Most Common Installation Mistakes?
Inadequate electrical bonding tops the list of installation failures, often discovered only during inspection. Many DIY attempts fail because homeowners underestimate the precision required for proper leveling and don’t account for settling over time.
Other frequent issues include:
- Improper drainage leading to foundation problems
- Flexible plumbing that fails within 2-3 years
- Insufficient base preparation causing liner damage
- Permit oversights requiring expensive corrections
I’ve seen homeowners spend more fixing DIY mistakes than they would have paid for professional installation initially.
Edge case: If you’re installing near mature trees, factor in root removal costs and ongoing maintenance challenges.
How Do You Choose the Right Installation Professional?
Look for installers with proper licensing, insurance, and specific experience with your pool type. Request references from recent installations and verify they pull permits and handle electrical work according to local codes.
Installer Evaluation Criteria:
- Licensed and insured with current credentials
- Electrical certification or partnerships with certified electricians
- Local permit experience familiar with your area’s requirements
- Equipment access including precision leveling tools
- Warranty coverage on both labor and materials
Get detailed written estimates that break down labor, materials, and permit costs separately.
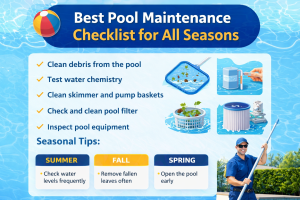
What Maintenance Starts Immediately After Installation?
Weekly water testing becomes essential once your pool is operational, maintaining pH between 7.4 and 7.6 for optimal water chemistry[3]. Your filter system requires attention when the pressure gauge rises 8-10 psi above baseline readings.
Early maintenance prevents expensive repairs and extends equipment life. Start planning winterization when water temperature consistently stays below 60°F rather than waiting for the first hard freeze — this represents current industry best practice for 2026[3].
Quick tip: Document your initial pressure readings and water chemistry levels as baselines for future maintenance decisions.
Frequently Asked Questions
Q: Can I install an above-ground pool myself?
A: While possible, professional installation is strongly recommended due to electrical code requirements and precision leveling needs that often exceed DIY capabilities[3].
Q: How long does pool installation take?
A: Professional installation typically requires 1-2 days for above-ground pools once site preparation is complete, weather permitting.
Q: Do I need permits for pool installation?
A: Most areas require permits for electrical work and sometimes for the pool itself. Your installer should handle permit applications and inspections.
Q: What’s the difference between foam pads and sand for the base?
A: Foam pads and Gorilla Pads provide smoother surfaces and prevent nutgrass puncturing, representing an upgrade from traditional masonry sand[3].
Q: When should I schedule installation?
A: Spring and early summer are peak seasons. Schedule 4-6 weeks in advance during busy periods, and remember delivery and installation are separate events[1].
Q: What electrical work is required?
A: Pools need dedicated 120-volt underground lines with GFCI protection, proper bonding of all metal components, and outlets positioned at least 10 feet from the pool[2].
Q: How level does the ground need to be?
A: Professional installations achieve precision within 1 inch across the entire pool diameter for proper structural integrity[3].
Q: What happens if installation fails inspection?
A: Common failures involve electrical bonding issues. Professional installers typically handle corrections, while DIY failures often require complete electrical rework.
Q: Should I choose rigid or flexible plumbing?
A: Industry consensus in 2026 emphasizes rigid plumbing for long-term durability and reliability over flexible alternatives[3].
Q: How do I prepare my yard for installation?
A: Mark utilities, ensure adequate clearance from structures, and plan for heavy equipment access. Professional site evaluation is recommended.
Q: What’s included in professional installation?
A: Typically includes site preparation, precision leveling, assembly of all components, electrical connections, and system testing with initial startup.
Q: Can I install during winter?
A: Installation is weather-dependent. Most professionals recommend spring through early fall for optimal conditions and ground stability.
Conclusion
Pool installation in 2026 demands professional expertise due to evolving electrical codes, precision requirements, and safety standards that exceed most DIY capabilities.
Your next steps: Get quotes from three licensed installers, verify their electrical certification, and schedule installation 4-6 weeks in advance during peak season. Remember that proper installation sets the foundation for years of safe swimming enjoyment, making professional expertise worth the investment.
Start planning your installation timeline now, and don’t underestimate the importance of proper permits and electrical work — these details make the difference between a successful project and expensive corrections later.